 My Apps
My Apps web part is a dynamic and customizable feature that displays frequently used online applications or websites. It allows system administrators to define a set of links/apps, which users can then personalize or adhere to as mandatory, depending on the sector's requirements.
After adding the web part to your page, you have the flexibility to rearrange the apps through a simple drag-and-drop interface, customizing the order of apps to suit your preferences.
Using My Apps
Adding My Apps to page
- Go to the page where you want to add a web part.
- If the page is not already in edit mode, click Edit at the top right of the page.
- Hover your mouse above or below an existing web part and you'll see a line with a circled +, like this:
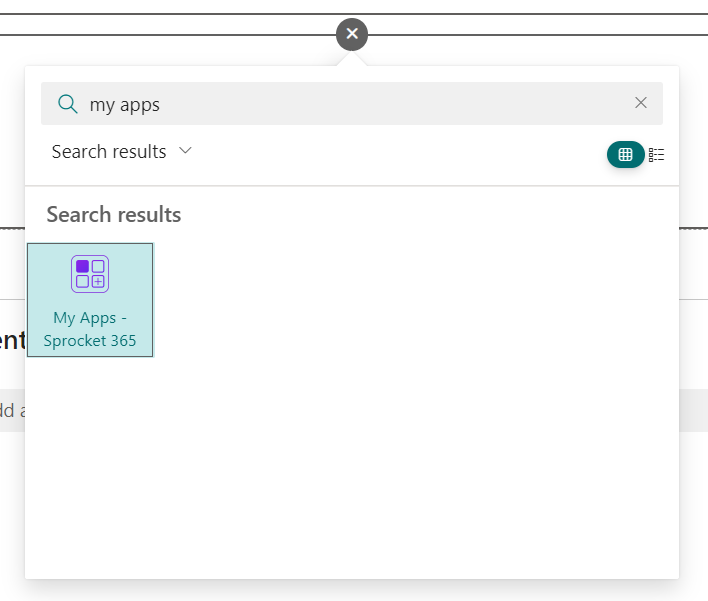
- When your page is in Edit mode, click the icon, search for
"My apps - Sprocket 365". - Select the
My Appsweb part from the results.
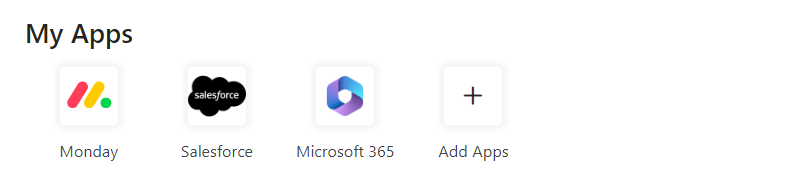
By default, My Apps web part will be initialised with 3 default app icons. This is to help you get started with the web part. You can remove these icons or add more icons to the web part. Please refer to How to add an App to Sprocket My Apps.
Arranging and Aligning Your Apps
- When
My Appsweb part is added to your page, you can simply drag and drop the Apps to rearrange the order of the Apps.
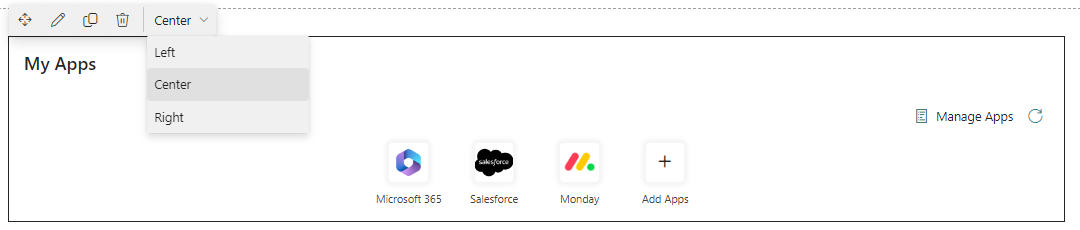
- In Edit mode, you can also align the Apps to the left, center or right. Select your alignment in the configurations tool bar and click
Republishto save your change.
Shape and label configuration
- Shape: In Edit mode, select the web part and open the property pane. Under Styles, use the Shape dropdown to choose Square or Circle for app icons. Default is Square.
- Show Labels: In the same Styles group, use the Show Labels toggle to show or hide the app title under each icon. When off, only the icon is shown. Default is on (labels shown).
How to add an App to Sprocket My Apps
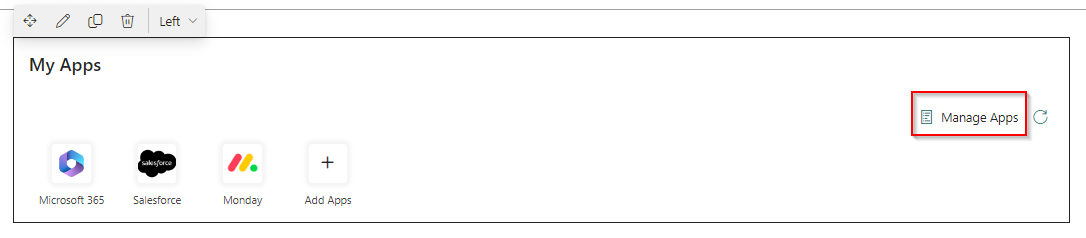
-
In Edit mode, click on the
Manage Appsicon in the top right corner of the web part. This will open theMy Appslibrary. -
There are two options to create a new app.
- Click on the
+ Newbutton in the top left corner of the library. - Simply drag and drop your icon file into library.
-
Once, icon file is uploaded, click on the icon to open the details pane. Using the right side toolbar, Edit the properties.
-
Click on each field completing:
- Name
- Title (the label that appear with the app) -Target (a valid URL)
- Mandatory
- Open in new window
- Sort order (provide a numerical order number for the app to appear)
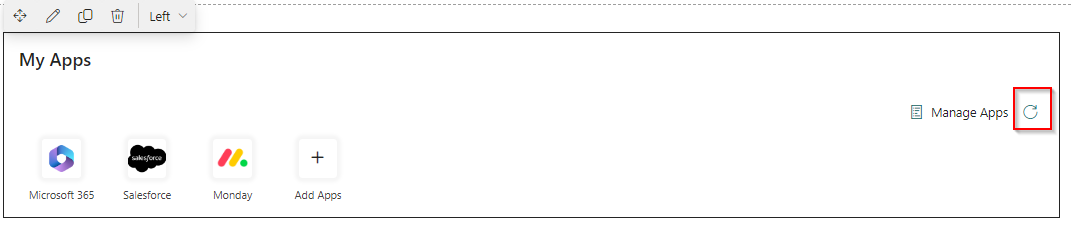
- Once all the required updates and configurations are performed, return to the web part click on the
Refreshbutton in the top right corner to display new apps.
FAQs
Is there a specific size an image should be?
The My Apps will re size the image for you and display it in the dedicated space. We recommend uploading square or circle icons vs rectangle as they will appear smaller and harder to read. Example icon size could be 25 x 25 pixels.
How do I change an icon so it appears by default for all users?
Using edit mode in the My Apps library, select the item you want and then click on the 'details' pane (info icon) located in the grey command bar, and change 'Mandatory' to 'Yes'.
Where do I find the My Apps library to upload images?
You can find the My Apps library via the settings wheel in the top right hand corner and then in the Site Contents. You can also edit the page the My Apps web part has been added to and via the 'Go To List' option in the edit mode of the page.
What does Reset do?
The reset button restores your app configuration to the default: order and visibility are reset. It does not change the apps in the library.
Is there any additional licesing requirements?
Generally no. However, if you are using OneDrive to store users configuration settings then users must have a license to OneDrive.